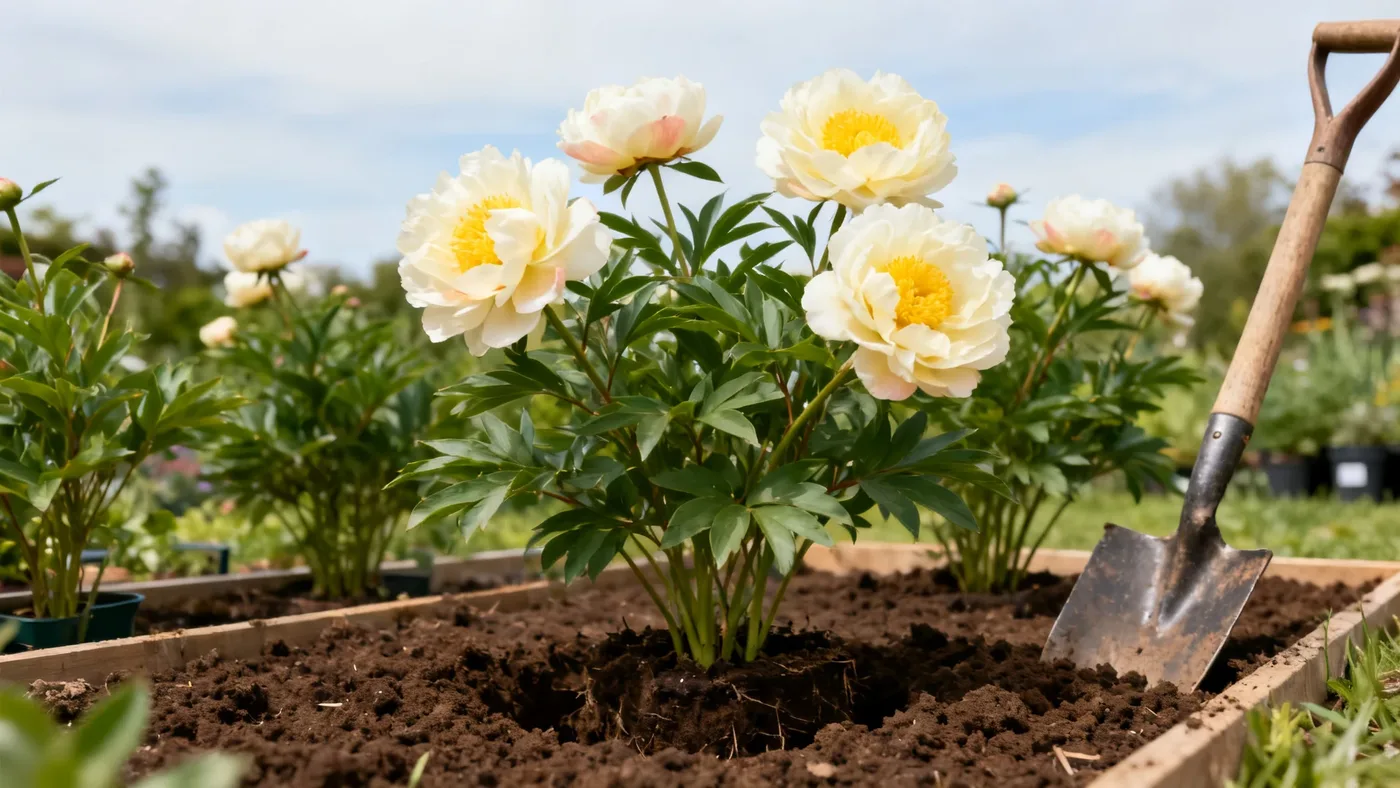
How to Plant Duchesse de Nemours Peony for Big Spring Blooms
Planting a Duchesse de Nemours Peony is straightforward once you know the critical details. This creamy white, fragrant cultivar will reward you with reliable blooms for decades, but success starts with getting the planting right. Most peony failures trace back to a single mistake: planting too deep. This guide walks you through the exact steps, materials, and timing so your peonies bloom generously year after year.
When to Plant Duchesse de Nemours Peony
Timing matters for peonies. Fall planting (September through October in most regions) is preferred for bare-root divisions. Cool soil temperatures help the tuberous roots establish before winter dormancy, and peonies have evolved to prefer this rhythm. Container-grown plants, sold in quart, #1, or #3 pots, can go in the ground in spring or fall, though fall still gives them an edge for root development.
If you live in USDA zones 3 through 8, Duchesse de Nemours will winter reliably in your area. In warmer regions at the edge of zone 8, provide afternoon shade during the hottest months to reduce heat stress.
Plan for your first light blooms to appear 1 to 2 years after fall planting. Full floral display typically arrives by year 3 or 4 as the plant reaches its mature size (26 to 36 inches tall and 24 to 36 inches wide). This patience investment pays off with a plant that persists for 50 years or longer with minimal care.
What You'll Need: Materials and Tools
Gather these items before planting day.
- Bare-root peony division or container-grown plant
- Shovel or spade
- Garden fork (optional, helpful for breaking up compacted soil)
- Bone meal or bulb fertilizer (phosphorus-rich, low nitrogen)
- Compost or aged manure
- Peat moss or coir (if your soil leans heavy clay)
- Measuring tape or ruler
- Garden gloves
- Watering can or hose
Prepare the Planting Site
Duchesse de Nemours needs full sun (6 or more hours per day) to produce abundant blooms. Choose a location with good drainage and avoid low spots where water pools after rain. While peonies are surprisingly tough once established, they do not tolerate waterlogged soil.
Test your soil if you have not already. Peonies prefer neutral to slightly acidic soil with a pH between 6.5 and 7.0, though they tolerate slight swings. They thrive in fertile, humus-rich, well-drained loam.
Dig a planting hole about 12 inches deep and 12 inches wide. If your native soil is heavy clay or compacted, expand the hole and amend the backfill generously. Mix the excavated soil with 2 to 3 inches of compost or aged manure. This creates a looser, more fertile environment for the tuberous roots to expand into.
Peonies will occupy the same spot for decades, so invest in the soil now. The extra compost does far more good than fertilizer applied later.
Planting Bare-Root Peonies: Step by Step
Bare-root divisions are the most economical way to start and are the standard for mail-order peonies in fall.
Step 1: Inspect the Division
Examine your bare-root peony. You will see a thick, knobby crown where the stems would emerge (called the eyes or buds). Below that are pale, tuber-like roots. The eyes are dormant and inactive in fall, appearing as small bumps on the crown surface. Handle the roots gently to avoid breaking them.
Step 2: Soak the Roots (Optional but Helpful)
If the roots look shriveled or the package sat in transit for many days, soak them in cool water for 2 to 3 hours before planting. This rehydrates the roots and can improve early establishment. Do not leave them sitting in water for more than a few hours, as this invites rot.
Step 3: Build a Cone in the Planting Hole
Create a small cone or mound of soil in the center of the planting hole. This cone will support the peony so its eyes sit at the correct depth. Spread the roots around and over this cone, working them into the surrounding soil mix. This positioning encourages outward root growth and prevents roots from doubling back on themselves.
Step 4: Position the Eyes Correctly
This step is critical. The eyes (small bumps on the crown where new growth emerges) should sit no more than 1 to 2 inches below the soil surface. Too deep, and the plant will struggle to produce stems and bloom. Too shallow, and the crown may dry out. Use your finger or a ruler to measure.
Step 5: Fill the Hole and Firm the Soil
Backfill with your amended soil mix, pressing gently but firmly as you go to eliminate large air pockets. The peony should sit snugly in the hole with good contact between roots and soil. Avoid compacting so hard that the soil becomes airless, but a light firming is necessary.
Step 6: Water Well
Water the freshly planted peony thoroughly. This settles the soil around the roots and removes any remaining air pockets. The soil should be moist but not waterlogged. In fall, natural rainfall will provide most of the moisture the peony needs, but if the weather is dry, water again after a few days.
Step 7: Space Multiple Plants
If planting more than one Duchesse de Nemours Peony, space them 3 feet apart. This spacing allows each plant's mature width (24 to 36 inches) to expand without crowding neighbors and ensures good air circulation for disease prevention.
Planting Container-Grown Peonies
Container peonies follow the same logic as bare-root but with one adjustment. Water the container thoroughly an hour before planting to ensure the root ball is hydrated. Dig a hole the same depth as the root ball, not deeper. Slide the peony out of its pot, loosen the outer roots gently, and set it in the hole so the soil line on the stem matches the surrounding grade. The eyes are already at the right depth in a container plant, so match that level.
Fill, firm, and water as above. Container peonies planted in spring may skip or reduce blooms in year one as they focus on establishing roots, but this is normal and temporary.
Mulching and Aftercare
After planting, apply a light mulch (1 to 2 inches) of wood chips or aged compost around the plant, keeping it a few inches away from the base of the crown. Do not pile mulch against the stem, as this can trap moisture and invite rot. In fall, this mulch helps stabilize soil temperature through freeze-thaw cycles.
Through the first winter and into early spring, the peony is establishing its root system underground. You may see no visible growth above ground for several months, and this is completely normal. Do not assume the plant has failed. In spring, shoots will emerge from the crown, and the plant will gradually gain strength.
In early spring of year one, as new shoots begin to emerge, apply a light dusting of bone meal or bulb fertilizer (phosphorus-rich, low nitrogen) around the base. Avoid heavy nitrogen fertilizers, which encourage soft growth over root development and can reduce blooming.
Water consistently through the growing season. Peonies are drought-tolerant once established, but they bloom best when soil moisture is average and consistent, especially during bud development in late spring.
Common Mistakes and How to Avoid Them
Planting Too Deep
The number one cause of peony non-blooming is burying the eyes too far. If your peony does not produce blooms in years 2 and 3, the eyes are likely more than 2 inches below the surface. Dig it up and replant at the correct depth. Yes, you can move an established peony; it is resilient.
Planting in Shade
Peonies need full sun. Six hours of direct light is the minimum. A plant crammed into a shaded corner will produce leaves but few or no blooms. Reduced blooming in too much shade is one of the most common problems. Choose your sunniest bed.
Poor Drainage
Peonies dislike standing water. If your planting site stays soggy after rain, amend the soil heavily with compost or consider raising the bed. Waterlogged soil invites root rot and fungal disease.
Using Fresh Manure or High-Nitrogen Fertilizer
Fresh manure can burn roots. Aged manure is fine. High-nitrogen fertilizers push lush foliage at the expense of flowers and can make plants floppy. Stick to phosphorus-rich, low-nitrogen fertilizers.
Overmulching
Mulch against the crown traps moisture and can cause rot. Keep mulch a few inches away from the base.
What to Expect in Year One and Beyond
Year one after fall planting often shows minimal above-ground growth. The plant is investing in roots. By late spring or early summer, you may see a modest flush of leafy growth, and this is a good sign. Do not expect flowers yet.
Year two should bring a light bloom (often just a few flowers or smaller blooms than later years). Year three and beyond are when Duchesse de Nemours reaches full floral expression, producing abundant, fragrant white blooms with a pale yellow flushed center in early to mid-season (typically May, though timing varies by zone and season).
For details on ongoing care, pruning, pest management, and maximizing blooms, see our Duchesse de Nemours Peony care guide.
Planting Quick Reference
| Task | Timing | Details |
|---|---|---|
| Choose planting location | Before purchase | Full sun (6+ hours); good drainage; space 3 ft apart |
| Prepare soil | At planting | Amend with compost; aim for pH 6.5-7.0; ensure well-draining loam |
| Soak bare-root (optional) | Before planting | 2-3 hours in cool water if roots are shriveled |
| Plant bare-root or container | Fall (preferred) or spring | Eyes 1-2 in below surface; firm soil; water well |
| Mulch | After planting | 1-2 in layer; keep 2-3 in away from crown base |
| Apply fertilizer | Early spring, year 1+ | Bone meal or bulb fertilizer; low nitrogen |
| Consistent watering | Growing season | Average moisture; drought-tolerant but blooms best with consistent water |
| Expect first blooms | Year 1-2 after planting | Light bloom; full display by year 3-4 |